Hey there, aspiring breakdancers! If you are looking for 1 step tutorial for beginner, this blog is the kickoff of an awesome tutorial series designed just for you. Whether you’re a seasoned pro or just stepping onto the breaking scene, this tutorial on the one step is tailor-made for you as the perfect starting point for your breakdance journey.

Before we get into the nitty-gritty of the one step, let me provide you with a bit of context. So what is breakdancing?
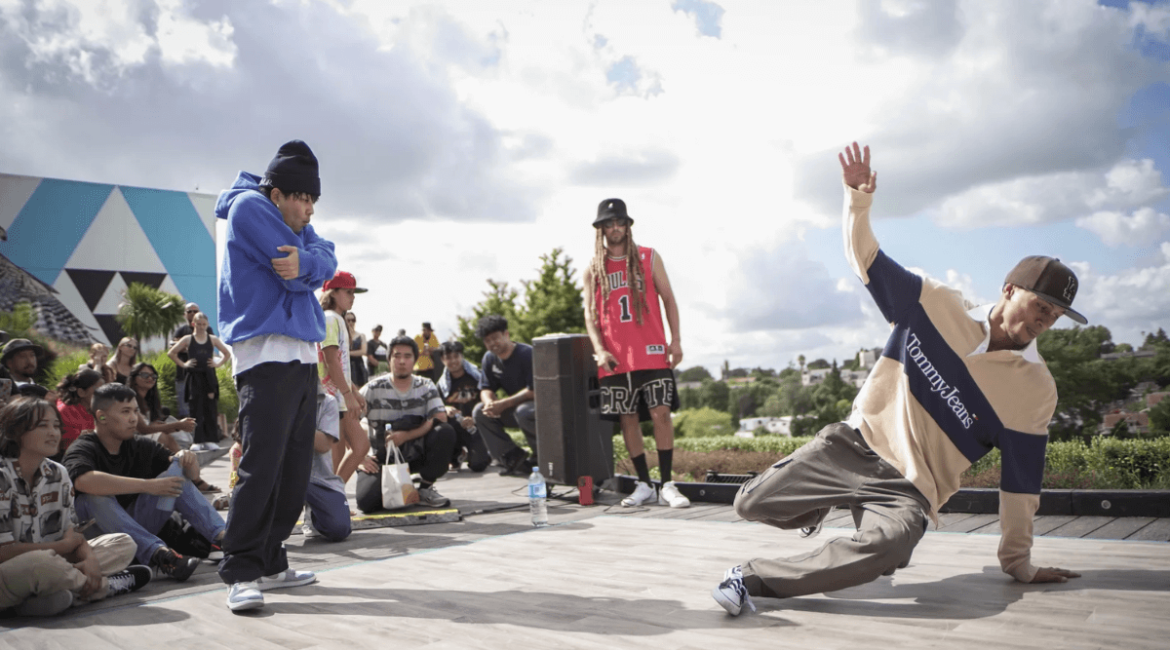
Breakdancing, often referred to as breaking, is a dynamic and expressive form of street dance that emerged in the 1970s within the hip-hop culture. Breakdancing is characterized by its energetic and acrobatic movements, often performed to the rhythm of hip-hop or breakbeat music. It has evolved over the years, gaining global popularity as a competitive and artistic dance form.
It combines various elements such as footwork, top rocks, power moves, and freezes, allowing dancers, known as b-boys or b-girls, to showcase their creativity and skills. Today, we’re zooming in on footwork.
What is footwork in detail? Footwork, also known as downrock, floor moves, floor rock, or floor work, is like the cool dance moves that happen close to the ground, usually with hands and feet involved. It’s what people say is the heart of breakdancing, and it’s the thing that makes breakdancing different from other types of dancing.
and our star move is the 1 step – a move that holds a special place in my heart as it was the very first one I mastered. Before jumping into the two the variations of 1 step let’s first get to know interesting facts about the history of footwork!
Footwork’s root

The story of how footwork became a crucial part of breakdancing is like a colorful picture with lots of different patterns. Each dancer adds their own unique style, making it diverse and interesting. The history of footwork, as we see it today, goes back to the early 1970s.
Back in those early years, breakdancers would include drops in their dances. They took advantage of the music’s break, the part where there’s no singing, to spend more time doing moves on the floor. This break in the music became a cool space “to make up new moves and try things out.”
According to Michael Holman, footwork started when breakers used their arms and hands to support their bodies, so their feet and legs could do cool gymnastic steps, shuffles, and sweeps.
The first people to come up with these awesome moves were the Legendary Twins and Clark Kent. Clark Kent says that before them, there weren’t these special moves done on the floor. He proudly says, “that’s where we [Clark Kent and the Legendary Twins] were known for changing the game.” But even before them, Dancin’ Doug had his own special “motorcycle” routine. In this routine, he would “drop to the floor and spin around.”
First 1 step variation
Alright, let’s delve deeper into the first variation of the 1 step – for this post is the helicopter (or also called coffee grinder), an essential move that lays the foundation for more advanced breakdancing maneuvers like flares, intricate footwork, and swipes. Before we jump into the breakdown, it’s crucial to familiarize ourselves with a fundamental stance known as “Position Zero.”
To begin, ensure you’re comfy on your toes, not your heels. Imagine opening your legs and knees, forming a sort of ‘V’ shape towards the ground. This low-to-the-ground stance is Position Zero, a stance we’ll be using frequently in upcoming footwork steps.
Step-by-step guide for the first 1 step variation
- Hand and arm placement: Moving into the clockwise direction, plant your right hand on the floor. Here’s a pro tip – use only your fingers, not your entire palm. It might feel a bit challenging at first, but it enhances balance. Keep your arms not too wide, slightly wider than your shoulders. It’s like finding a sweet spot – not too small, not too wide. Over time, you’ll naturally discover the right balance and hand movement.
- Transitioning to jump: Now, let’s get into the action. Simultaneously, extend your left leg to the side – not forward, but sideways. Give it a slight turn. At the same time, perform a circular motion with your right arm. Picture your arm moving from one point to another – it’s all about creating a smooth flow.
- The jump: Time to add a bit of hop to your step. With your right leg, make a controlled jump – nothing too high, just a gentle lift. As you do this, push back with your left leg. When landing, avoid a flat-footed stance; stay on your toes. Immediately after landing, smoothly spin back to repeat the sequence.
- Weight shift: Pay attention to your weight distribution. Initially, you might lean a bit, but after the first round, aim to shift your weight forward. Think of it as a controlled jump and spin, emphasizing the front. This simple adjustment adds flair to your move.
Tips for comfort
If this feels a tad tricky initially, fear not. Spend some time getting comfortable in Position Zero. One tip for your comfort is practicing exercises like light jumps or moving your legs around randomly to ease into the position. Remember, no heels here – always use your toes.
As you progress through these steps, take your time, enjoy the process, and don’t hesitate to replay the tutorial if needed. Mastery comes with practice, and this first variation of the one step is a fantastic starting point for your breakdancing journey. Stay tuned for more variations in future tutorials to elevate your skills!
Second 1 step variation
Great job mastering the first variation! Now, let’s take things up a notch and explore the second variation. It might seem a tad trickier, but with a bit of practice, you’ll have it down pat.
Step-by-step guide for second 1 step variation
- Clockwise spin with a twist: Alright, here’s the scoop. Your hands still spin in the ever-familiar clockwise direction, but this time, we’re switching up the leg game. Previously, we used the left leg; now, it’s the right leg’s turn to shine. It’s like a dance, and we’re about to switch partners. Fear not, the rhythm remains the same.
- Connecting the dots: Remember how we smoothly transitioned between variations in the first part? Well, we’re doing it again. Picture this – two rounds with the right leg leading, seamlessly connecting to the left-leg-dominated first variation. It’s all about keeping that flow without missing a beat. Dance on!
- Shifting gears – clockwise to counterclockwise: Let’s talk about spinning in different directions. So far, we’ve been all about the clockwise spin, but it’s time to venture into counterclockwise territory. The mechanics stay the same; we’re just hitting the rewind button on the spin direction. Embrace the challenge and become a maestro of both directions.
Mirror moves – On the other side
Now, let’s conquer the dance floor from the other side. Imagine mirroring your moves – what was once the right leg leading is now the left. It’s a mirror image, a symphony of movement. Three rounds clockwise, seamlessly switch, and follow it up with three rounds counterclockwise.
Being a well-rounded breaker means mastering moves from all angles. Even if you’ve been sticking to one side – spinning clockwise, for instance – it’s time to broaden your horizons. Practice the 1 step on both sides, and you’ll notice the difference it makes in your dance game.
Pro tip for style points
Now, let’s talk about adding that extra oomph to your 1 step. Aim to jump a bit tighter on the back, giving your move a stylish flair. Bend those legs a tad, and voila! It’s all about finesse and showcasing your unique style.
In the meantime, practice, experiment, and most importantly, enjoy the dance. Remember, it’s not just about the moves; it’s about expressing yourself and having a blast on the dance floor. Keep grooving, and I’ll catch you in the next tutorial!
Summary

Congratulations, you’ve completed the first steps in mastering the 1 step! The first variation emphasizes comfort in Position Zero, a clockwise spin, and controlled jumps. The second variation incorporates a clockwise hand spin with the right leg. Kyle encourages practicing in both directions for a well-rounded skill set.
Mastering the 1 step opens doors to more advanced moves. Remember, whether you’re a beginner or an advanced dancer, progress at your own pace and enjoy the journey. That’s a wrap for this tutorial. Keep practicing, stay inspired, and I’ll catch you on the dance floor next week.
If you’ve enjoyed this tutorial and want to have a more detailed tutorial, please check out YOUTUBE link below!
Leave a reply