Freezes are essential elements in breakdancing, serving as powerful punctuation marks in your dance routines. They require strength, balance, and creativity, making them both challenging and rewarding to master. In this blog post, we’ll explore five beginner-friendly freezes that will help you build a strong foundation in breakdancing. Whether you’re just starting out or looking to refine your skills, these freezes will add flair and dynamism to your breaking repertoire.
The Importance of Freezes in Breaking
Before we dive into the specific freezes, let’s understand why they’re crucial in breakdancing:
- Freezes create dramatic pauses in your routine
- They showcase strength and control
- Freezes allow you to emphasize musical accents
- They serve as transitions between different dance elements
- Mastering freezes builds body awareness and balance
Remember, while we’re focusing on beginner freezes in this post, there’s an infinite variety of freezes you can explore as you progress. The key is to start simple and gradually increase complexity as you gain confidence and strength.
Freeze #1: The Head Bridge
The head bridge is an excellent starting point for beginners. It’s relatively easy to execute and helps build the neck and core strength necessary for more advanced freezes.
How to perform the head bridge:
- Start by lying on your back
- Lift yourself up using your hands and feet
- Place the top of your head on the floor
- Once your head is in position, slowly remove your hands
- Position your arms in a clean, controlled manner
- Hold the position, focusing on maintaining balance and form
Safety tip: When you’re first learning the head bridge, use your hands to exit the freeze. This will prevent strain on your neck as you build strength and confidence.
Freeze #2: The Shoulder Freeze
The shoulder freeze is a classic move that looks impressive and serves as a foundation for many other freezes and transitions.
Steps to execute the shoulder freeze:
- Begin in a seated position
- Stretch one arm behind you
- Fall to the side, allowing your shoulder to connect with the floor
- Use your foot to lift your hips, finding the perfect balance point
- Slowly lift your feet off the floor, holding the position
- Practice on both sides to develop balanced strength and control
Remember, symmetry is key in breaking. Always practice your freezes on both sides to ensure well-rounded development and versatility in your dance.
Freeze #3: One-Footed Freeze
The one-footed freeze is where creativity starts to shine. This freeze allows for endless variations and helps develop your unique style.
How to approach the one-footed freeze:
- Start by standing on one foot
- Experiment with different body positions and shapes
- Focus on finding interesting and visually appealing forms
- Challenge yourself to hold these positions for increasing durations
- Try incorporating arm movements or leg positions to add complexity
This freeze is an excellent opportunity to let your imagination run wild. Don’t be afraid to experiment with unconventional shapes and positions.
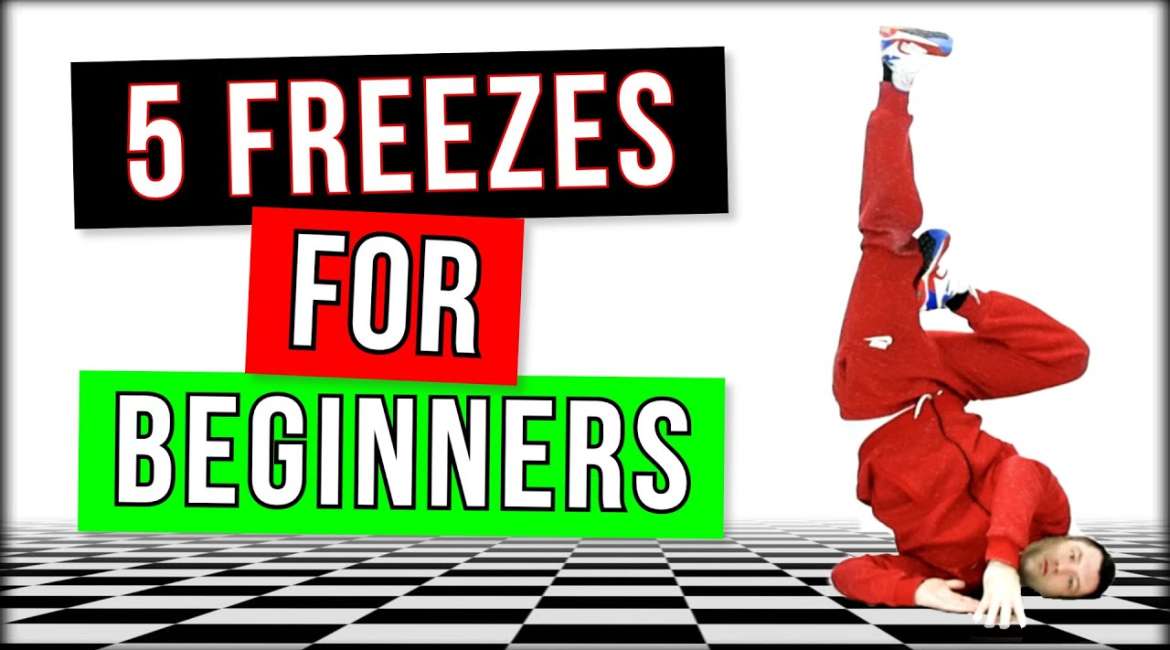
Freeze #4: The Headstand
The headstand is a more advanced freeze that requires core strength and balance. It’s an impressive move that serves as a gateway to many other power moves.
Steps to perform a headstand:
- Begin in a frog stand position
- Place the middle of your head on the floor in front of you (not your forehead)
- Once your head is in position, slowly lift your legs
- Keep your legs pointed forward to maintain balance
- Focus on keeping your body straight and controlled
Tip: Practice against a wall at first to build confidence and strength. Gradually move away from the wall as you improve.
Freeze #5: The Handstand
The handstand is a fundamental skill in breaking that opens up a world of possibilities for transitions and power moves.
How to perform a handstand:
- Place both hands on the floor in front of you
- Lift one leg in the air
- Gently push off the floor with the other leg
- Swing the pushing leg up to meet the other
- Start by staying close to the floor for safety
- Gradually increase your hang time and height as you improve
Practice tip: Use a wall for support as you build strength and confidence. Slowly push yourself away from the wall to find your balance point.
Combining Freezes and Creating Combos
Once you’ve got a handle on individual freezes, the next step is to start combining them into sequences or combos. This is where your creativity and personal style really come into play.
Benefits of creating freeze combos:
- Increases the complexity and impressiveness of your routines
- Challenges you physically and mentally
- Helps you develop unique sequences that set you apart
- Improves your overall flow and transitions in breaking
Example combo ideas:
- Head bridge to shoulder freeze
- Handstand to one-footed freeze
- Shoulder freeze to headstand
Remember, the key is to experiment and find transitions that feel natural and look smooth. Don’t be afraid to try unconventional combinations – that’s how new styles are born!
Enhancing Your Freezes: Entries and Exits
The way you enter and exit a freeze can be just as important as the freeze itself. Smooth entries and exits can elevate a simple freeze into a standout moment in your routine.
Tips for improving your entries and exits:
- Practice different ways of getting into each freeze
- Work on transitioning directly from one freeze to another
- Experiment with dynamic entries, such as spinning into a freeze
- Develop creative ways to exit freezes that flow into your next move
Remember, the goal is to make your transitions look effortless and natural, even though they require significant strength and control.
Training Tips for Mastering Freezes
Consistent practice is key to improving your freezes. Here are some tips to help you make the most of your training:
- Start each practice session with a proper warm-up to prevent injuries
- Focus on building core strength and balance through supplementary exercises
- Practice regularly, even if it’s just for short periods each day
- Use a mirror or record yourself to analyze and improve your form
- Be patient – mastering freezes takes time and persistence
Common Mistakes to Avoid
As you work on your freezes, be aware of these common pitfalls:
- Rushing into advanced variations before mastering the basics
- Neglecting to practice on both sides, leading to imbalances
- Focusing solely on static holds without working on entries and exits
- Ignoring proper form in favor of flashy moves, which can lead to injuries
- Not incorporating freezes into your overall breaking routine
Conclusion: Your Journey with Freezes
Mastering these five beginner freezes is just the beginning of your journey in breaking. As you progress, you’ll discover countless variations and combinations that will help you develop your unique style.
Remember, the key to improvement is consistent practice and a willingness to push your boundaries. Don’t be afraid to fail – every fall is a step towards mastery. Keep experimenting, stay creative, and most importantly, have fun with your freezes!
Whether you’re aiming to compete in battles or simply express yourself through dance, these freezes will serve as a solid foundation for your breaking journey. So get out there, start practicing, and watch as your skills and confidence grow with each session.
Keep pushing your limits, stay inspired, and never stop exploring the endless possibilities that breaking has to offer. Your unique style is waiting to be discovered through the art of the freeze!
Leave a reply