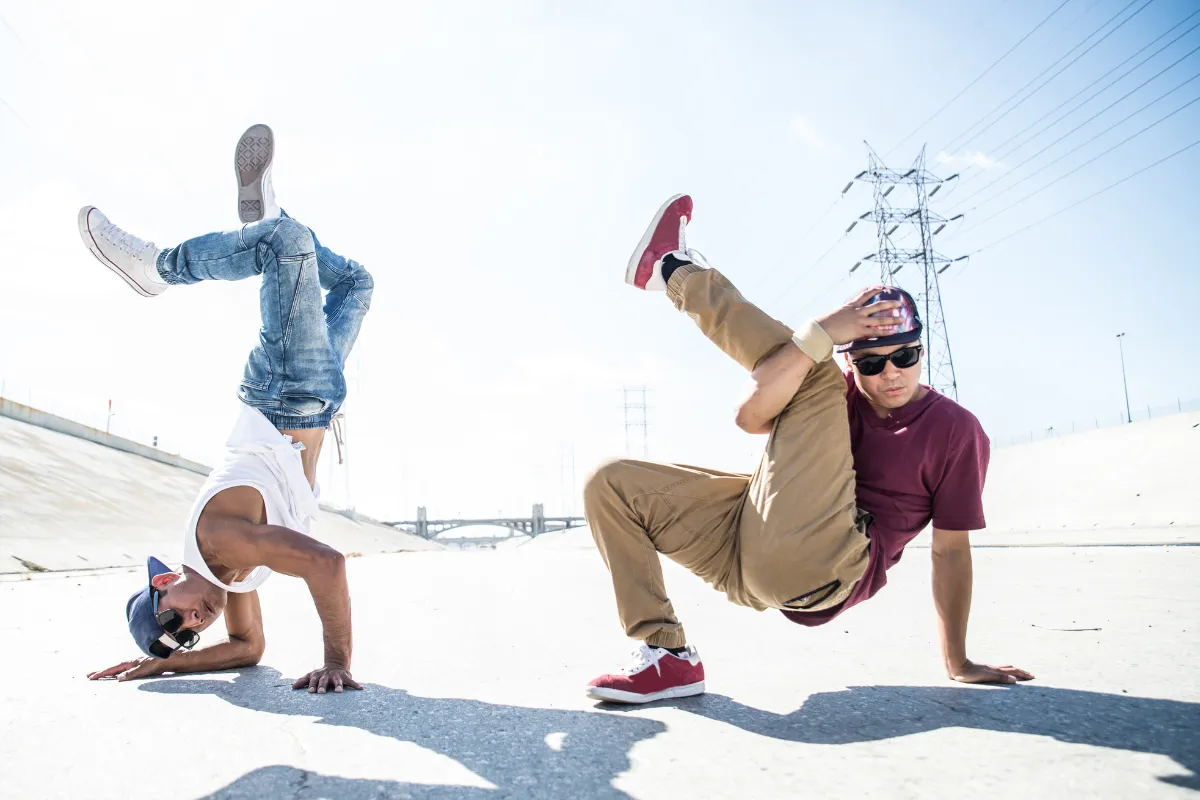
Breaking, a form of dance, lets people express themselves in unique ways. Each dancer brings their own style and flair to it. To really get into breaking, you’ve got to start with the basics. These include moves like the backspin, the 6-step, and the baby freeze.
When you’re just starting out in breakdancing, you’ll find that the baby freeze is often one of the first moves you’ll learn. It’s designed to be easy for beginners to try out and get the hang of.
Mastering the baby freeze is super important if you want to keep breaking for a long time. It’s like a foundation that helps you build up your skills. When you nail this move, you’re not just showing off your strength and control, but also your artistic side. And that’s what makes a great b-boy or b-girl. So, take your time with it and really get it down pat!
Definition of freeze and baby freeze
Freeze

Becoming a successful breakdancer can be quite tough. The U.S. Bureau of Labor Statistics says that there are fewer than 9,000 professional dancers who make a living across the whole country. Many dancers just do it as a part-time gig or for fun.
However, getting started with breaking is a bit easier if you follow the right approach. One of the first things you’ll tackle is learning how to do a freeze move. It’s like a building block for your breakdancing journey.
What are freezes? Freezes in breakdancing are really cool moves that catch your eye. They show off how well a dancer can balance, control their body, and how strong they are. Some of the fancier freezes look like they shouldn’t even be possible—they’re that impressive!
These moves are used to make certain parts of a routine stand out or to match up with the rhythm of the music. Even though they might seem easy at first glance, pulling off these freezes takes a ton of skill and control over your body.
Baby freeze

Before you can move on to the really cool freezes, you’ve got to get your basics down pat. This means getting really good at the simple freezes that are part of breakdancing. You’ll also need to learn how to smoothly move into and out of these freezes.
Lots of teachers start off by teaching the baby freeze because it’s a good starting point.
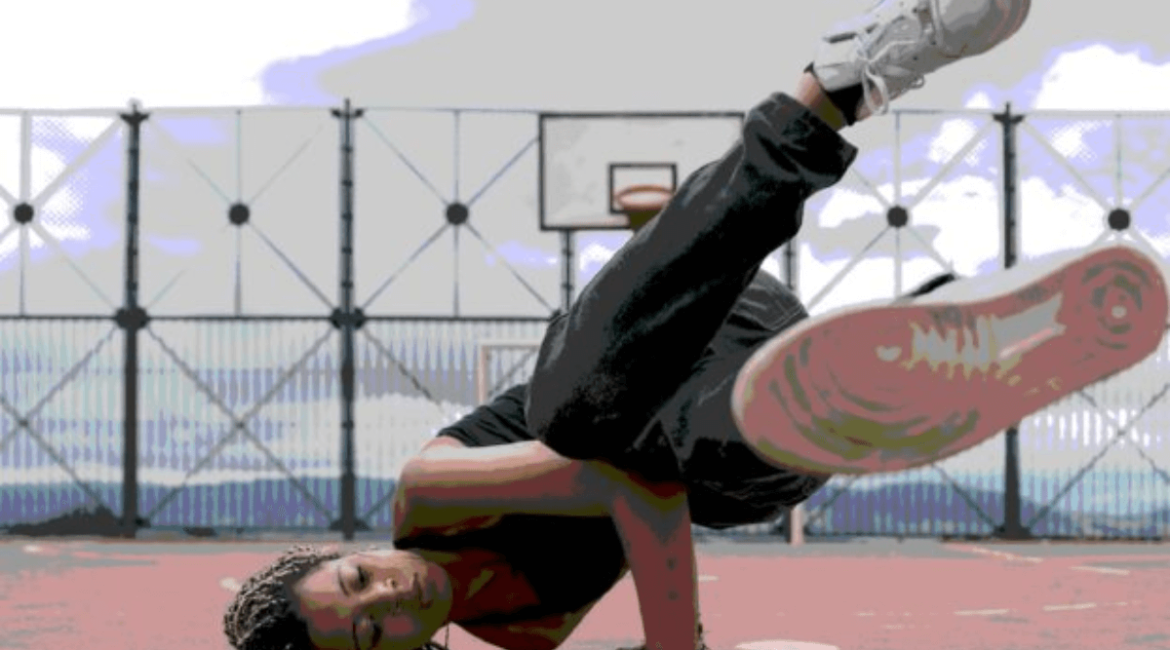
What is baby freeze? The baby freeze one of the first moves beginners learn because it helps them understand balance, control, and how strong they need to be. You balance on one hand while you use your other arm and knee to create a special pose.
It’s is like the building block of breakdancing. When you do the baby freeze, it looks really cool. And the best part? You can make it your own by adding your own style to it!
At the Paris 2024 Olympics, you might notice different ways people do the baby freeze. Here are some things that might vary:
- Hand positioning
- Leg angle
- Overall aesthetic
Step-by-Step guide to perform the baby freeze
When beginners start learning breakdancing, they might be eager to try out flashy moves like the backspin or headspin. But before diving into those, it’s crucial to build a strong foundation for safe dancing. The baby freeze is a key part of laying down that foundation.
Here’s how you can nail the perfect b-boy or b-girl form when you’re trying out your first baby freeze:
Step One – Warmup and preparation
It’s important to be careful and prepared to avoid getting hurt when you’re breakdancing. Did you know that about 80% of dancers get injured at least once a year, and it can really affect how well they can dance?
To help prevent injuries, start by warming up your body.
- You can do some light exercises like jogging or jumping jacks
- And don’t forget to stretch your muscles, especially your core, legs, wrists, and shoulders.

When you’re practicing the baby freeze, make sure you’re doing it on a soft surface like a dance mat.
- It’s not a good idea to try it on concrete, especially if you’re just starting out, unless you’re wearing something to protect yourself, like a hat.
- Concrete can cause friction burns, and nobody wants that!
Step Two – Enter the starting position
When you’re getting ready to do a baby freeze, start by kneeling down. You don’t need to worry about fancy footwork or how you’re going to transition into other moves just yet. The most important thing right now is to learn how to do the freeze step by step.
- To get into position, use your stronger hand to support your weight.
- Spread out your fingers to help you stay balanced.
- Your hands should be a bit in front of you and to the side, and they should be a bit wider than your shoulders.
- Make sure your stronger hand has a good grip on the ground to keep you stable.
Step Three – Shift your weight
Remain in your current kneeling position and start by shifting your weight onto the hand that’s supporting you. It might feel a bit tricky at first, but it’s important to get the hang of it.
- Remember to engage your core muscles while you practice at home; they’ll help you stay steady as you work on the baby freeze.
- Next, try lifting one leg off the ground and bringing it toward your dominant side elbow.
- Gently rest your knee on the back of your elbow.
- Aim to get your knee as close to your armpit as you can, while also tucking your thigh in close to your torso. This might take a bit of practice to get just right, so don’t worry if it feels a bit awkward at first.
As you’re working on this, you can decide what to do with your other arm. Some advanced dancers use it for stylish poses, but if you’re just starting out, it’s best to focus on using it for balance. Stretch it out to the side to help you stay steady as you practice.
Step Four – Lift and balance
Now, let’s move on to the trickiest part of the baby freeze.
- Extend your other leg—the one that’s not resting on your elbow—straight out in front of you.
- As you do this, rely on your supporting hand to help you keep your balance.
- All of your body weight should now be shifted onto that supporting arm, so make sure it feels sturdy and secure.
Here’s a helpful tip for maintaining your balance:
- Try leaning a bit to the side where your dominant hand is. This can give you some extra stability.
- Remember, the power should come from your core muscles, while your hand is there mainly for balance and to help you stay steady.
- At the same time, keep your head in a neutral position—look straight ahead or even slightly upwards towards the sky.
- Avoid looking down at the ground, as this can throw off your balance. Think of it like when you’re in your b-boy stance—keeping your head up helps you stay focused and centered.
Step Five – Making progress
Just like when you’re learning something cool like a flare, the aim here is to figure out where your perfect balance lies. But here’s the thing: it’s not the same for everyone.
- Each person’s balance point is unique, and the only way to find yours is by practicing and gaining experience.
- Keep practicing that baby freeze and focus on holding the position for longer each time.
This will help you get stronger and more stable, and eventually, you’ll find that sweet spot where everything clicks into place without you even having to think about it. And once you’ve got that balance down, it’ll make transitioning between moves a whole lot smoother as you progress.
What if you are having trouble making the process you expect?
Breakdancing isn’t just about getting really good at one move and sticking with it. It’s more like putting together a bunch of different moves into a smooth, flowing routine. So, don’t feel like you have to spend all your practice time on just one move.
Mix things up a bit! Spend some time practicing your top rock, then switch it up and work on your down rock or power moves. This variety will keep things interesting and help you become a well-rounded dancer.
And here’s the cool part: Every time you improve, whether it’s with your balance, strength, or just getting to know your body better, it helps with all your breakdancing moves, including the baby freeze. So, keep at it, and you’ll see progress across the board!
Summary
The baby freeze is a foundational move in breakdancing, often one of the first learned by beginners. It emphasizes balance, control, and strength, requiring dancers to support their body weight on one hand while creating a stylized pose with their other arm and knee.
While seemingly simple, mastering the baby freeze involves careful practice to achieve the ideal balance point unique to each individual. Beginners should focus on building core strength and stability, gradually increasing their ability to hold the freeze for longer periods.
Incorporating other breakdancing moves into practice sessions helps dancers develop a well-rounded skill set, contributing to overall progress and mastery of the baby freeze and other breakdancing techniques.
If you want more detailed tutorial for freezes, please check out this YOUTUBE video below!


Leave a reply