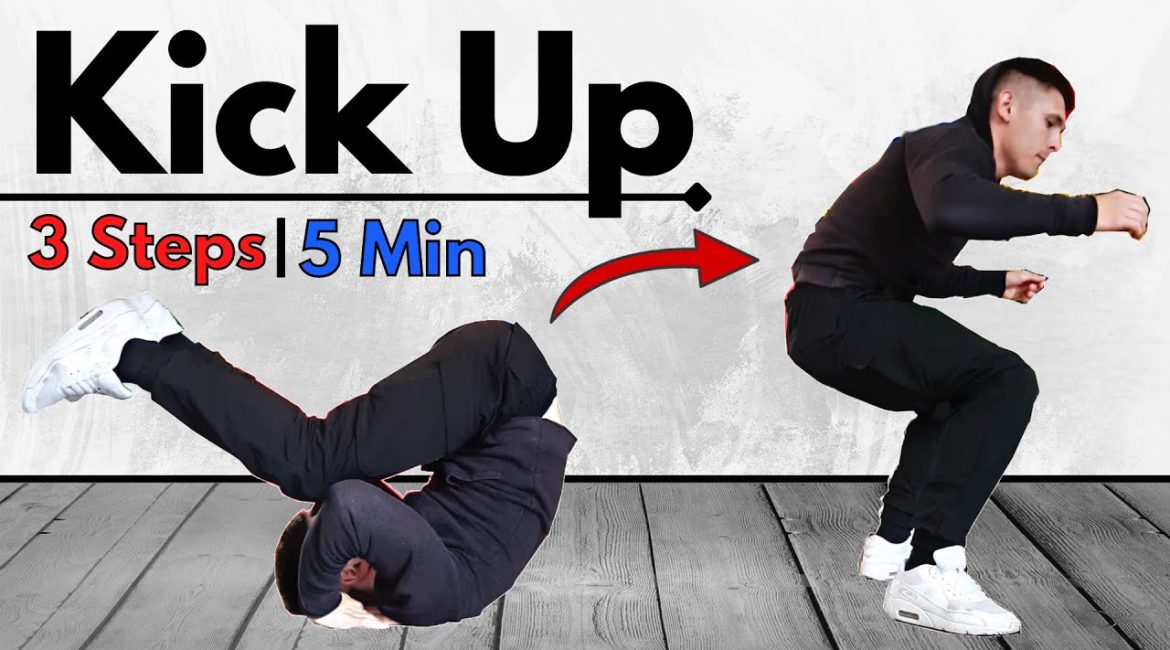
The kip up, also known as a kick up, is an explosive and visually impressive move commonly used in breakdancing, martial arts, and even in fitness routines. It’s a dynamic move where you transition from lying flat on your back to standing on your feet in one smooth, swift motion. While it may look challenging, you can learn to execute a kip up in just under five minutes with the right technique and practice. This guide will break down the move into three manageable steps, ensuring that you’ll be popping up in no time.
Breakdancing, also known as b-boying, b-girling, or breaking, is an energetic and acrobatic dance style that originated amongst African American and Latino communities in the Bronx, New York City during the 1970s. It’s a core element of hip-hop culture alongside DJing, MCing/rapping, and graffiti.
Breakdancing incorporates a variety of athletic moves and freezes, often set to the rhythmic “break” sections of funk, soul, and hip-hop music. B-boys and b-girls (the dancers) perform a combination of four styles:
- Toprock: upright dancing with footwork and spins
- Downrock: movements performed closer to the ground, like leg spins and freezes
- Power moves: more athletic maneuvers like windmills and headspins
- Freezes: holding a particular pose for a beat
1. Step – Leg Movement / “Rainbow”
Importance of the Leg Movement
The first and perhaps most crucial step in learning the kip up is mastering the leg movement, often referred to as the “rainbow” because of the arch your legs make in the air during the move.
How to Execute
- Start Position: Lie flat on your back with your arms by your sides and your legs straight.
- Momentum Build: Bend your knees and pull them toward your chest to prepare for the movement.
- The Kick: Explosively kick your legs upwards and slightly backwards, following a broad, arched trajectory like a rainbow. The goal is to get your feet to sweep over your body, creating momentum that will help propel the rest of your body upwards.
Tips for Perfection
- Practice this leg movement slowly at first to understand the motion.
- Ensure you’re using your abdominal muscles to help drive your knees up.
- Try to make the movement smooth and fluid, which will contribute to a more successful kip up.
2. Step – Hand & Arm Position
Role of Hands and Arms
Once you’ve got the leg motion down, it’s time to incorporate your hands and arms, which play a critical role in pushing your body off the ground.
How to Position Your Hands and Arms
- Hand Placement: Place your hands flat on the floor above your shoulders, palms down. Your fingers should point toward your feet.
- Arm Action: As you kick your legs up, press down hard with your hands and use your arms to push your torso off the floor. This is not just about strength but also timing.
Practice Pointers
- Keep your arms straight and strong throughout the move.
- Experiment with different hand placements to find what gives you the best leverage and comfort.
- Use a padded surface or yoga mat to prevent discomfort in your palms and wrists during practice.
3. Step – Upper Body Movement
Integrating the Upper Body
The final step to mastering the kip up is effectively using your upper body to help lift yourself into the standing position.
Execution Technique
- Upper Body Dynamics: As your legs kick and your arms push, throw your chest forward and upward. This helps transfer the momentum from your legs and arms into a forward motion.
- The Push: Think of doing a powerful push-up where you not only push yourself up but slightly forward.
Training Tips
- Practice the upper body motion without the leg kick to get a feel for the push.
- Visualize pushing against something heavy as you train to develop the necessary power.
- Engage your core throughout the movement to stabilize your body and enhance the lift.
Summary
Mastering the kip up can significantly boost your agility and confidence in your physical abilities. By breaking the move down into these three steps—leg movement, hand and arm position, and upper body dynamics—you can learn this dynamic skill in a structured, systematic way.
Final Advice
- Be patient with yourself; some may learn the kip up in minutes, while others may need a bit more practice.
- Always warm up adequately before practicing to avoid injuries.
- Use protective mats or soft grass when starting out to cushion any falls.
Remember, the key to a successful kip up is not just strength but also technique, timing, and practice. Keep working on refining each element, and soon, you’ll be popping up with ease and style.


Leave a reply