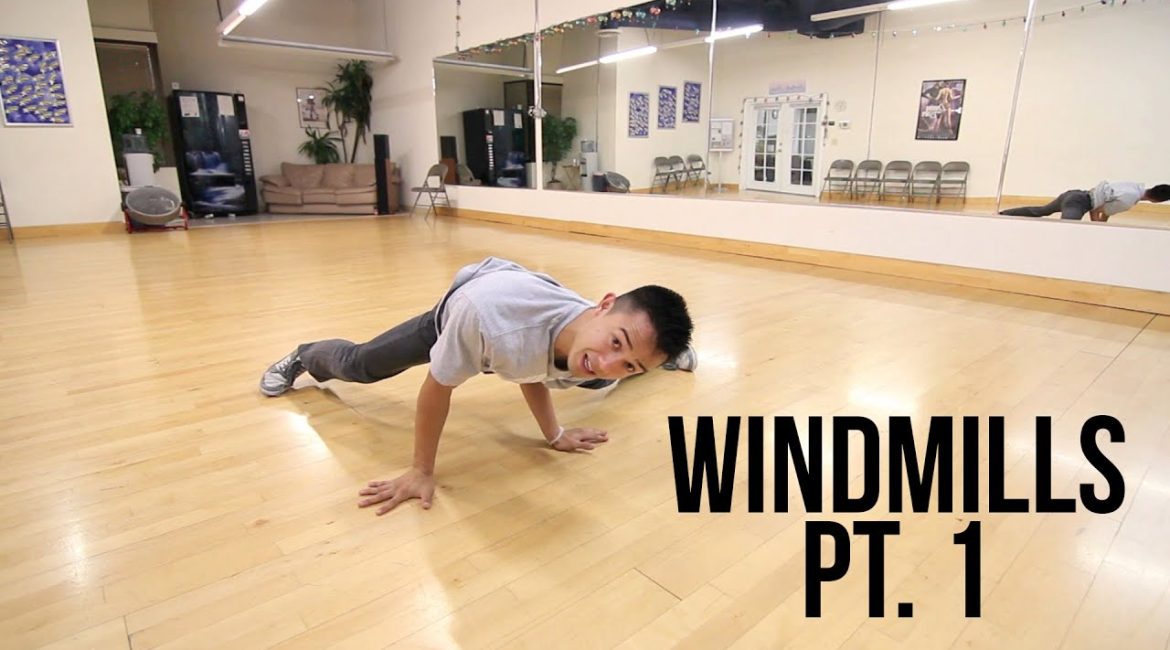
Breaking, with its impressive array of power moves, showcases not only the dancer’s skill but also their dedication and creativity. Among these power moves, the Windmill is a fundamental yet visually striking element that forms the backbone of many advanced breakdancing routines. This tutorial focuses on the beginner’s approach to learning Windmills, breaking down each step and offering practical advice on avoiding common mistakes.
Understanding Windmills in Breakdancing
Windmills are a dynamic power move involving continuous rolling and spinning movements across the back, transitioning through hands and upper body support. It’s a move that epitomizes the fluid yet powerful style of breakdancing, requiring strength, timing, and coordination to execute effectively.
Preparing for Windmills
Before diving into the Windmill, it’s crucial to have a solid foundation in some basic moves:
- Back Spin: The Windmill kick-off often resembles the motion used in a back spin. If you’re not confident with back spins, take time to practice this move as it provides the momentum necessary for initiating a Windmill.
- Cricket Position: This is your base position during a Windmill, where one hand (depending on your dominant side) supports your weight while the body spins.
Step-by-Step Breakdown
Step 1: Starting Position
Begin in a standing or crouching position, preparing to kick into a back spin. This involves a strong and controlled kick that propels your legs around your body while your upper body lowers towards the floor.
Step 2: Transition to Cricket Position
As you execute the back spin, transition onto your hands, particularly focusing on your dominant hand which will stabilize your cricket position. Coordinate this hand placement with the momentum of your spin to maintain fluid motion.
Step 3: The Roll and Kick
While in the cricket position, use your free hand to guide your rolling motion. Tuck your shoulder in to protect it and reduce friction as you roll across your upper back. Simultaneously, perform a powerful kick with your legs to maintain rotational momentum.
Step 4: Completing the Cycle
As your legs come around, prepare to lift your hips and upper body by pushing off with your hands. This elevation is crucial as it provides the necessary clearance for your legs to sweep under and continue the rotation.
Common Mistakes and Corrections
- Shoulder Impact: Failing to tuck in your shoulder properly can lead to painful impacts and potential injuries. Practice the shoulder tuck separately to ensure you’re rolling across your upper back smoothly.
- Insufficient Kick: A weak kick results in loss of momentum, causing the Windmill to stall. Focus on strengthening your leg muscles and practicing the kick to ensure it’s forceful and sustained.
- Losing Form in the Roll: It’s common for beginners to lose form during the roll, which can disrupt the flow of the Windmill. Keep practicing the roll in isolation, aiming for a tight, controlled movement.
Training Tips for Mastery
- Start Slow: Begin by practicing each component of the Windmill slowly and gradually increase speed as you gain confidence and muscle memory.
- Use Protective Gear: Initially, wear long sleeves, headbands, or even specialized breaking gear to minimize burns and bruises.
- Record and Review: Use video recording to track your progress. Reviewing your attempts can help identify form issues and monitor improvements.
- Set Repetition Goals: Practice sets of five Windmills at a time, focusing on fluidity and form. This repetition builds endurance and helps muscle memory.
- Peer Feedback: Work with other breakers or a coach who can provide live feedback and tips for improvement.
Conclusion
The Windmill is not only a visually impressive move but also a test of a dancer’s strength, coordination, and dedication to practice. As you progress from beginner to intermediate levels, remember that each practice session builds your skill and confidence. Stay patient, stay motivated, and most importantly, have fun as you spin your way through the exciting journey of breakdancing. Stay tuned for more tutorials that will take your Windmills from the basics to advanced variations without hands, ensuring you become a powerhouse on the dance floor. Practice hard, and peace out!


Leave a reply