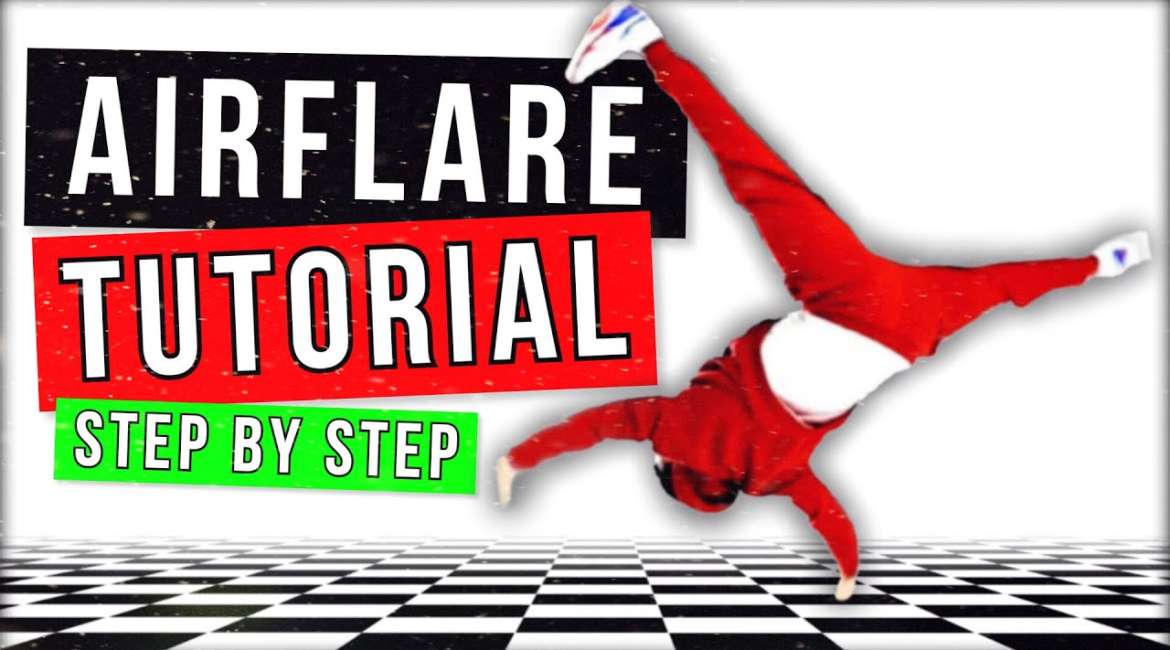
Welcome to the ultimate airflare tutorial! If you’ve been struggling to master this iconic breaking move, you’re in the right place. As Sambo, an experienced b-boy, puts it, “I swear on the heavens you will not find a more detailed tutorial on the airflare.” This comprehensive guide will take you through every step of the process, from prerequisites to advanced techniques, ensuring you have all the tools you need to nail this impressive move.
Prerequisites
Before diving into the airflare, it’s crucial to have a solid foundation in certain breaking moves. Sambo recommends mastering the following techniques:
- Power kick
- Monkey swing
- Spinning handstand
- Flares
- Windmill
If you’re not familiar with these moves, don’t worry! Sambo has tutorials for each of them on his website and YouTube channel. It’s especially important to check out the spinning handstand tutorial, as it provides valuable information on leg positioning that will be crucial for the airflare.
Understanding Hand Numbers
To make the tutorial easier to follow, Sambo introduces a numbering system for hand placement:
- First hand: The initial hand placed on the floor
- Second hand: The next hand to touch the ground
- Third hand: The hand you land on after the jump
Take a moment to internalize this numbering system, as it will be referenced throughout the tutorial.
Mastering the Pipe Freeze
The pipe freeze is a fundamental position that will help you get into the airflare mindset. Here’s how to do it:
- Start with a cartwheel motion
- Stop halfway through, with your chest facing up
- Your hips should be folded towards you
- Practice this on both sides
Remember to pay attention to your leg work:
- Right leg first when piping on your left hand
- Left leg first when piping on your right hand
This exercise isn’t just great for preparing for the airflare; it’s also an excellent warm-up routine.
The Cartwheel Progression
The most challenging part of the airflare is the jump from the second hand to the third hand. To build up to this, start with a cartwheel progression:
- Begin with a basic cartwheel from your second hand to your third hand
- Focus on coordination and control
- As you get comfortable, try to cartwheel behind your head
- This will help you develop the necessary shoulder flexibility
Key Exercises
To further prepare your body for the airflare, Sambo recommends the following exercises:
- Power kick to cartwheel: Combine the power kick or monkey swing with the cartwheel progression
- High hips: Keep your hips elevated throughout the movement
- Walkover practice: Focus on landing cleanly and comfortably after the walkover
- Leg control: Keep your legs open and stretched throughout the movement
- Tapping exercise: After the walkover, try tapping your feet on the ground to improve leg control
Remember, comfort is key. If you can complete these exercises smoothly and feel in control, you’re on the right track.
Transitioning to the Jump
Once you’re comfortable with the walkover, it’s time to introduce the jump:
- Start with the power kick
- Move to your first hand, then second hand
- Instead of walking over to your third hand, pull your legs in to create a small jump
- Focus on landing stably on your third hand
Keep the movement high at this stage. Lowering the airflare too soon can lead to instability and potential injury.
Building Comfort and Creativity
To really internalize the airflare position, try these variations:
- Walkover to windmill
- Walkover to headspin
- Walkover to 90-degree freeze
- Walkover to 2000 (a power move)
These exercises will help you become more comfortable with the airflare position and expand your possibilities within the move.
Progressing to Multiple Airflares
Once you’ve mastered the single airflare, it’s time to work on stringing multiple airflares together:
- Perform a high airflare
- Transition through a handstand position
- Move into a second airflare
This transition will feel similar to moving into a 90-degree freeze, but instead, you’ll continue into another airflare. Stay calm and focused during this progression, as small mistakes can affect your comfort and lead to falls.
Lowering Your Airflare
Many breakers struggle with transitioning from high airflares to lower, more fluid ones. Sambo offers a great exercise for this:
- Start with the highest airflare you can safely execute
- Gradually lower your airflare, focusing on the transition to a windmill
- Find the lowest point where you can still comfortably enter the windmill
- Practice at various heights to build a bridge between your highest and lowest airflares
This method will help you develop more shoulder and arm flexibility, allowing for smoother, lower airflares.
The Elbow Airflare
As a bonus, Sambo mentions that practicing the walkover and jump transitions on your elbows can lead to quickly learning the elbow airflare. It’s a similar movement to the regular airflare, just on a different part of your arm.
The Jedi Mind Trick
For those struggling to connect multiple airflares (especially between 3 and 5), Sambo shares a mental technique he calls the “Jedi mind trick”:
- Convince yourself that every airflare you’re doing is actually the first one
- This helps maintain focus and keeps your body in the right position
- Instead of counting 1, 2, 3, 4, 5 – think 1, 1, 1, 1, 1
This technique can help overcome mental blocks and improve your flow.
How Long Does It Take to Learn?
Learning the airflare varies greatly from person to person. Factors that influence the learning curve include:
- Natural aptitude
- Previous breaking experience
- Time dedicated to practice
- Quality of instruction
Sambo mentions that he’s seen people learn multiple airflares in less than a year, while others take over five years to master them. He personally took 6-7 years to perfect his airflares, largely due to the lack of comprehensive tutorials available at the time.
Conclusion
Mastering the airflare is a challenging but rewarding journey. By following this detailed tutorial and practicing consistently, you’ll be well on your way to adding this impressive move to your breaking repertoire. Remember to:
- Master the prerequisites
- Focus on proper form and technique
- Gradually progress through each stage
- Stay patient and persistent
- Keep your practice sessions safe and controlled
Don’t forget to share this tutorial with your friends and fellow breakers. The more people who have access to quality instruction, the faster the breaking community can grow and evolve.
Sambo encourages viewers to support the video by liking, commenting, and sharing it on various platforms. This increased engagement helps the tutorial reach more aspiring breakers and pushes it to the top of search results, making it easier for others to find high-quality breaking instruction.
Remember, the key to success in breaking, as with any skill, is perseverance. In Sambo’s words, “Never quit, keep training,” and you’ll see progress in your breaking journey. Good luck, and happy breaking!
Leave a reply