The airflare is a super cool move in breakdancing that’s full of energy and excitement. When a dancer performs an airflare, it’s like a burst of energy that gets everyone cheering and clapping. Learning to do an airflare might not be easy at first, but with practice and determination, dancers can become masters at it.
Once you’ve got the airflare down, you can really impress people in all sorts of dance battles, performances, or just freestyle sessions. Being able to whip out an airflare whenever you want shows off your skills and takes your dancing to a whole new level. Plus, the best part is that you can mix the airflare with lots of other moves to create your own unique style.
What’s even cooler is that you can put your own twist on the airflare to make it stand out even more. By adding variations and personal touches, you can make your airflare unlike anyone else’s. This not only helps you show off your creativity but also makes you memorable among other breakdancers. So, let’s get to know how to do airflare, and soon enough, you’ll be wowing crowds wherever you go!
About airflare
Definition
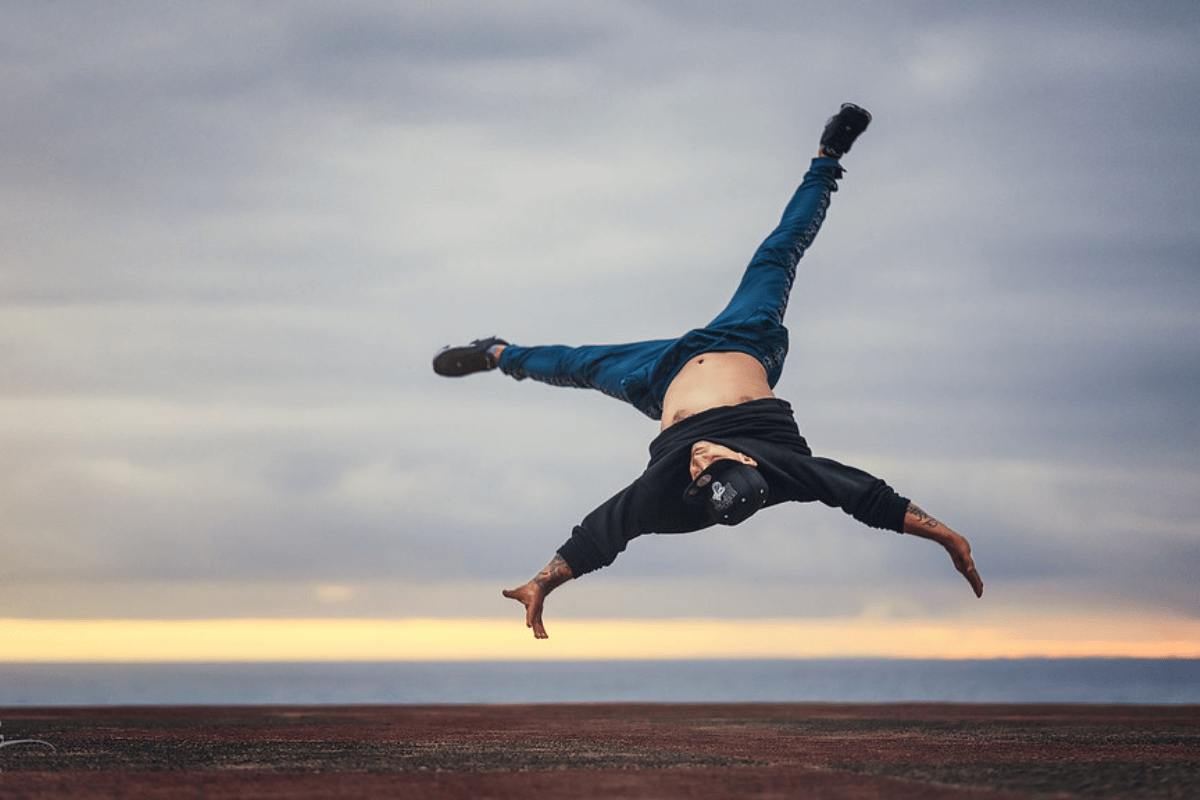
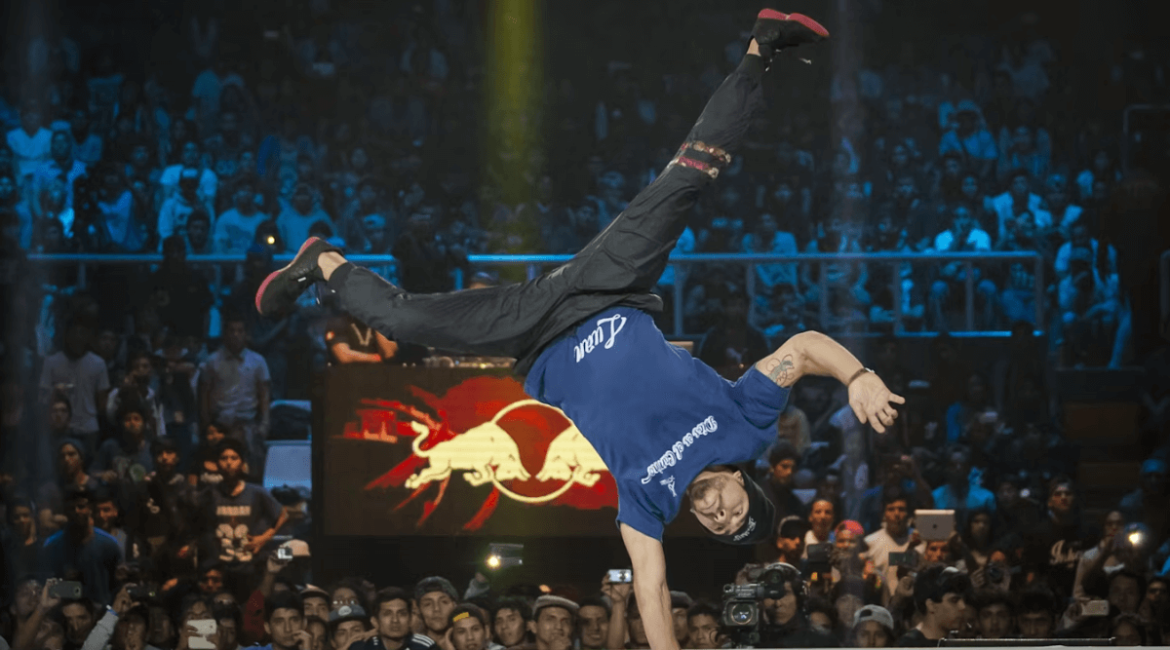
What is the airflare in breakdance? The airflare is an electrifying and athletic maneuver in breakdancing where dancers whirl their bodies in a circular motion on the floor. They keep their legs and hips elevated high above the ground, relying solely on their hands for support.
While executing this move, dancers employ motions, body positions, leg placements, and swinging techniques akin to those seen in a windmill. However, the crucial distinction lies in the fact that in an airflare, dancers support themselves exclusively with their hands, showcasing incredible strength and coordination.
Some of the breakdancers who are famous for doing the airflare move include B-Boy Ivan, Nightcrawler (who added his special style to it), Megaman, and Kujo.
Terminology
The term “airflare” was first used by members of Soul Control, including Barmak, Babak, Inferno, and Kujo.
What is Soul Control? Soul Control is a legendary crew in the world of breakdancing. They’ve made huge contributions to the evolution of moves like the airflare, coming up with various twists and combos using it. They’re also the pioneers of moves like “tombstone” windmills, canonball windmills, closed legged airflares, beatles, shiesties, the free-willy, J-lo’s/J-Halos, Halo walks, Omega walks, Inferno’s, Electro’s, and many more.
They came up with this term to distinguish the move from another similar move called the “airtrack.” They noticed that adding a circular rotation made the move much easier compared to the airtrack. Continuous airtracks are quite rare, but Kujo from Soul Control was one of the earliest documented cases of doing them continuously.
Before “airflare” became widely known, Europeans used terms like “airtwist,” “airtwister,” and “airtwista” to describe this move. However, the modern version of the move is now universally recognized as the airflare.
You might sometimes see variations like “air-flare” or “air flare,” but the most common and widely accepted term is “airflare”, which is consistent with other breakdancing moves like “windmill” and “headspin.”
How to airflare in 4 steps
Before you jump into doing the airflare, it’s crucial to prepare your body properly. That means warming up those muscles and making sure they’re nice and flexible. Stretching is key here.

- For the airflare specifically, you’ll want to focus on stretching out your chest and shoulders. Using a resistance band can make this even more effective. Stretching these areas will help you move more freely and with less strain when you’re spinning through the air.
- But don’t forget about the rest of your body! A wide-legged stretch and a stretch where you reach to the side can also help loosen up your muscles and get you ready to bust out those moves.
- Since the airflare is a pretty tough move that demands a lot from your core and shoulders, it’s helpful to have some other skills under your belt first.
- If you can already do a handstand or even walk in a circle while balancing on your hands, you’re off to a great start. And if you can do single hand taps while in a handstand position, even better!
Now that you’re all warmed up and prepped, let’s dive into learning the airflare. Get ready to fly!
Step 1
- Start by standing with your feet apart.
- Now, place your right arm on the ground, with your hand facing inward.
This position sets you up for the direction you’ll be turning toward.
Next, it’s time to focus on your legs.
- Lift your left heel upward at a 45-degree angle until it crosses slightly over your right leg.
- As your left leg crosses over, push off with your right leg and whip your body into a slight handstand position.
- Picture your body moving in a circular motion, all supported by your right arm.
- For extra oomph, try turning your body slightly to the right before placing your right arm down.
This helps build up momentum for the full movement.
Step 2
Now, let’s switch over to your other arm.
- Once you’ve swung around your right hand so it’s facing the same direction as your body, smoothly transition to your left arm.
- Keep your arms and body steady; don’t let them collapse.
- Let the momentum carry your body around as you switch from your right arm to your left, getting ready for the next step.
Stay tuned for step 3, where we’ll dive into the exciting throw part of the airflare! Keep practicing, and you’ll be spinning like a pro in no time.
Step 3
After switching from your right to your left arm, it’s time to throw yourself back onto your right arm. This requires a quick movement of your body along with the arm switch. Remember, speed is key here!
To improve the speed of your body turn and arm throw, practice in a crab walk position.
- Focus on swiftly throwing your right arm over your body and down to the ground while keeping your body tight.
- The quicker you throw your right arm down, the smoother this move will become.
Another crucial aspect of this throw is keeping your legs up while you throw yourself over. Many people make the mistake of letting their legs come down after throwing their right arm, which kills their momentum. Keep your legs and hips up towards the sky until you catch yourself with your throwing arm (your right arm).
Now, let’s put it all together.
- Your legs will be swooping down and then up through your hips and left shoulder as you execute a hop while balancing on your left arm.
- Simultaneously, whip your right arm down to the other side.
- Once you successfully catch and land on your right arm, you’re ready to go for your second airflare.
Step 4
Now, let’s tackle your second airflare. Remember, timing is everything here.
- Whip your right arm down swiftly before your legs start descending. This motion will set you up to seamlessly transition into your second, third, and even multiple airflares.
- Throughout this maneuver, it’s crucial to maintain tightness and solidity in your body and arms. This stability is especially important when you’re throwing yourself back onto your right arm to set up for the next airflare.
With practice, you’ll soon find yourself mastering not just one, but multiple airflares in a row. It’s all about honing your skills and staying committed to improving over time.
Keep up the practice, and before you know it, you’ll be effortlessly chaining together those airflares like a true breakdancing champion!
Tips to achieve the airflare

Here are some important tips to remember as you work on perfecting your airflare:
- Focus on keeping your hips elevated over your shoulder to maintain your momentum. This positioning is crucial for smoothly transitioning into your second airflare and beyond.
- Keep your arms tight and strong throughout the entire movement. Make sure they stay straight and don’t collapse or bend at the elbows. This stability is key for executing the airflare with precision.
- When transitioning between moves, particularly when throwing your right arm down, aim to do so quickly before your legs reach the ground. Remember, arms should always be moving faster than legs to maintain control and fluidity.
It’s important to be patient with yourself as you learn any new powermove, including the airflare.
Summary
Mastering powermoves such as the airflare, windmill, flare, or headspin all by yourself can be quite a challenge. It’s completely normal if you don’t master it on your first try. For many people, it can take years of dedicated practice before they can successfully pull off even just one of these impressive moves.
Others may find themselves feeling discouraged after months of attempts without success, and some may even experience injuries like a strained neck or a hurt pelvis along the way.
With dedication and consistent practice, you’ll gradually improve and eventually nail down the airflare like a pro! Keep at it, and don’t be discouraged by setbacks. If you want a more detailed guide, check out this YOUTUBE video for airflare tutorial!


Leave a reply