
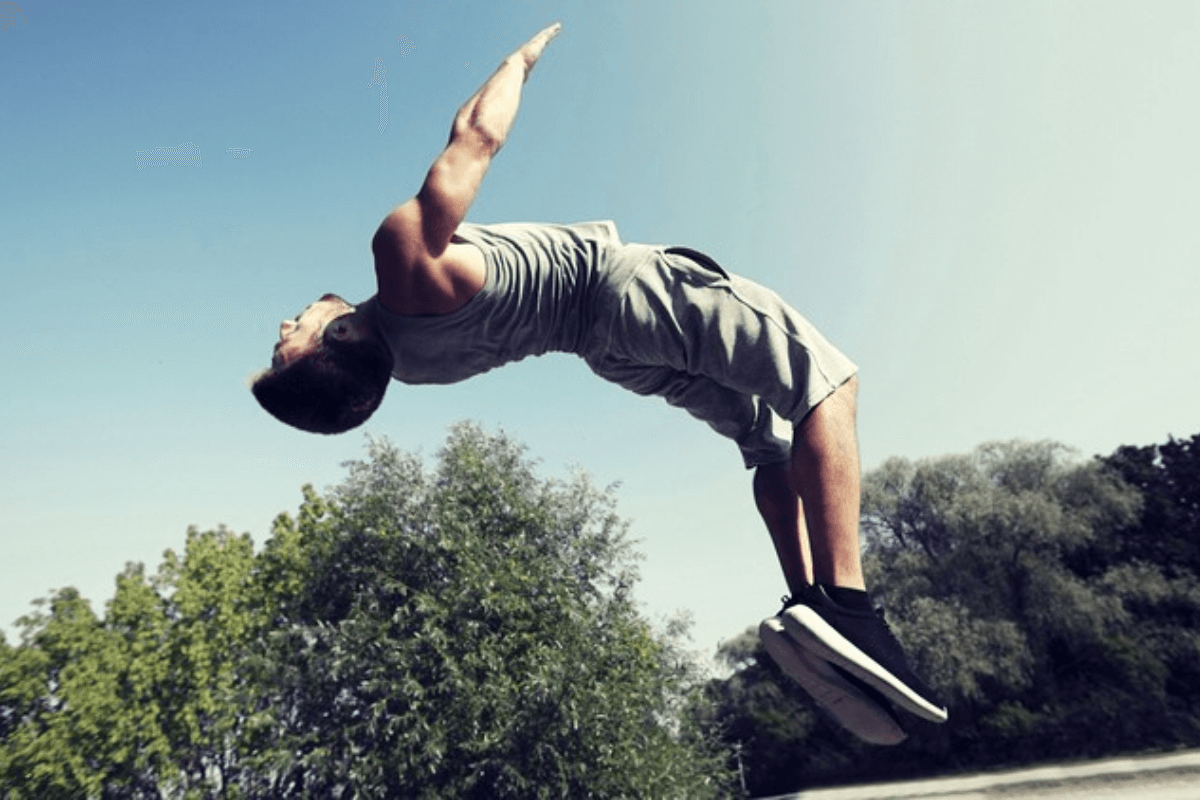
Have you ever wondered about those jaw-dropping flips that seem to defy gravity? Well, let me introduce you to the world of the backflip.
What is backflip? Backflip, which folks also call a back-tuck, somi, or salto, is a cool trick that makes your body spin a full turn in the air, a whole 360 degrees! It’s like an awesome way to flaunt how flexible and agile you are. Doing a backflip isn’t super easy, though. It’s a bit on the advanced side. Even though it’s a tricky move, some people might find it not too hard and can get the hang of it without practicing much.
Now, here’s the cool part – the backflip isn’t your everyday move. It’s a bit advanced, but it’s a fantastic way to showcase not just your flexibility and agility but also your courage and skill. Some folks might make it look easy, almost like they were born to do it. Can you believe that some people can master this trick without tons of practice?
Are you ready to take the leap and explore the exciting realm of the backflip? If yes, then let’s gooooo!
Getting Into Position for your backflip

Step 1: Stretching your muscles before you jump to prevent injuries
Before you take on the exciting challenge of doing a backflip, it’s crucial to prepare your body and minimize the risk of injuries. Start by giving your muscles a good stretch. After a quick 25-minute cardio warmup to get your heart pumping, focus on stretching your arms, legs, chest, and back. You can choose any stretches you like, as long as they target the right muscle groups.
For a full-body stretch, try a forward bend.
- Stand up straight with your feet together, then slowly bend down toward the floor, reaching out to touch it with your fingers.
- To stretch your arms, lift one arm over your head, reaching for the sky.
- Bend your arm at the elbow, keeping it parallel to the back of your head, and gently pull your elbow with your other hand. Remember to repeat these stretches on both sides.
A helpful tip is to always warm up your muscles for 2-5 minutes before diving into stretches. This ensures your body is ready for the movements and reduces the risk of accidental injuries.
Step 2: Finding a soft surface for your future backflip
This advanced move requires time to master, and using a soft surface helps minimize the risk of injury. Therefore, it’s very essential when attempting a backflip.
- Opt for a gymnastics mat or foam pit for the best protection, but if those aren’t available, sand or grass can work too.
- If you’re starting out, consider trying the flip on flat ground to build momentum, but avoid hard surfaces like concrete, especially if you’re new to backflips.
- If getting enough height is a challenge, start from a raised surface, like a not-too-hard mat, and flip into a soft pit for a safer learning experience.
Step 3: Using a spotter adds an extra layer of safety
Since a backflip is an advanced move and can be risky, having someone watch your jump is crucial, especially when you’re just starting out.
- At the very least, make sure someone is around to call for help if needed.
- If you’re finding your balance difficult, practicing on a trampoline beforehand can help you get the height you need and perfect your form in a safer environment.
This way, you can build the confidence and skills required for a successful standing back tuck on the floor.
Mastering the Takeoff for a smooth backflip
Step 1: Stand with confidence
- Start by standing with your feet about shoulder-width apart, and stretch your arms overhead.
- Make sure your back and neck are straight, and keep your gaze looking forward.
- Feeling stable and balanced through your core is key before you take off.
If you’re not balanced, doing a backflip with good form becomes tricky, and it could increase the chances of falling and getting hurt.
Step 2: Focus your gaze on an object in the distance
This helps keep your head in a neutral position, facing forward. It doesn’t matter what you’re looking at or if you can see it clearly; the goal is to avoid looking at the ground, as it can make you feel nervous or distracted.
- It’s crucial not to look around while attempting a backflip to avoid losing your balance, which could lead to injury.
- Keep your head steady and avoid whipping it around.
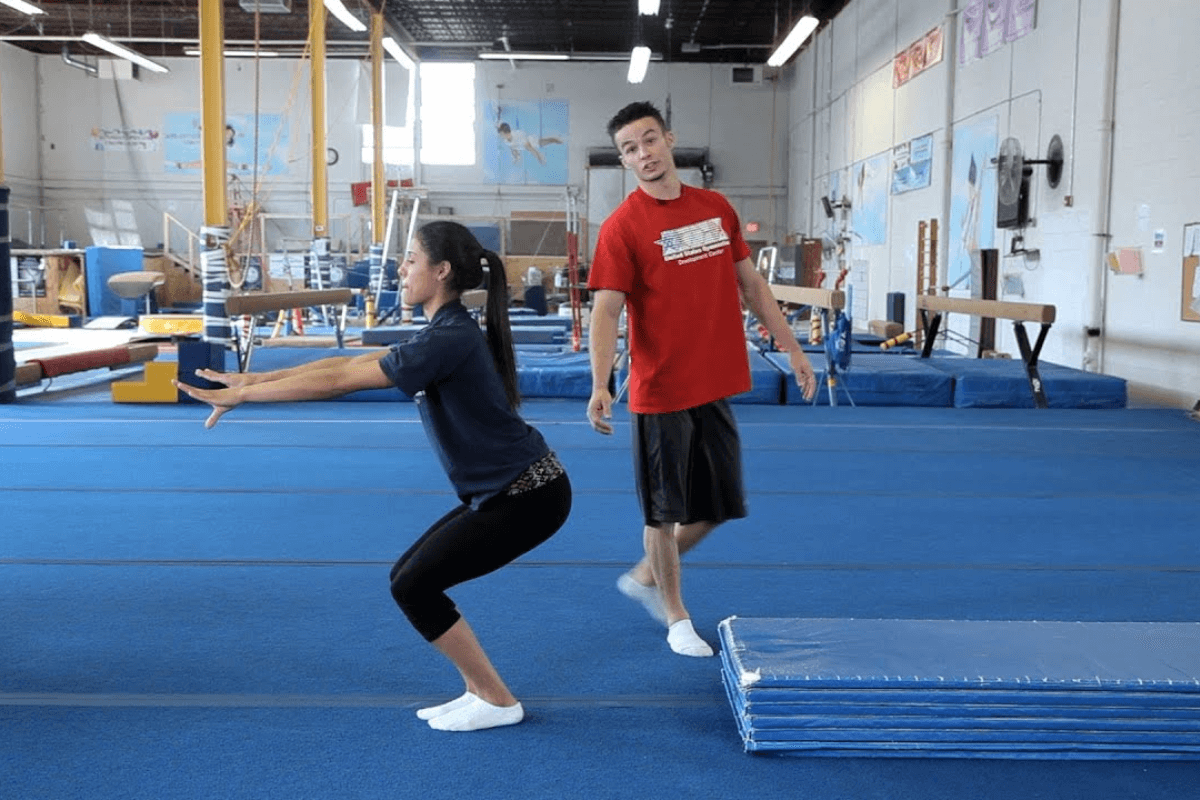
Step 3: Bend knees
- Now, bend at your knees into a high squat.
- As you do, sit back while keeping your back straight.
- Your chest should align with your knees but be pointed upward, and your arms should be raised above your head.
- Be cautious not to bend too deeply or lean too far forward, as this can throw off your balance.
Bending too much might turn your backflip attempt into a back handspring or prevent you from completing the flip.
Step 4: Swing your arms behind you, stopping when they’re just behind your back.
- Extend your arms straight, but don’t lock your elbows.
- Your palms should be slightly facing the sky and turned inward toward your body.
- Avoid raising your arms too high, as this could cause your jump to go backward rather than upward.
Step 5: Bring your arms forward and over your head as you leap upwards.
- Create a backward arc with your arms to propel yourself backward while jumping high into the air.
- As your arms swing up, push through your thighs to leap backward.
- Remember to keep your arms straight throughout the motion, preventing them from flailing about.
Although you’re flipping backward, your initial jump should be upward to generate the momentum needed for a successful backflip. Jumping backward may result in a handspring or loss of balance.
Tip: Jumping into the air is essential, even though you’re flipping backward. Jumping backward may lead to a handspring or imbalance. So, leap upward to ensure you get the right momentum for a flawless backflip.
Perfecting the tuck of a backflip
Step 1: Pull your knees toward your chest at the peak of your jump
- Now that you’ve soared into the air, it’s time to pull your knees toward your chest at the highest point of your jump.
- Your chest should align roughly with the sky (or ceiling) when you bring in your knees.
This action initiates your tuck, a crucial part of the backflip.
Step 2: Secure Your Tuck with a Grab
- As you begin your tuck, grab your knees with your hands to ensure a secure position.
- Bring your arms back towards your legs as you tuck.
- You have the option to grab the back of your thighs or your knees based on your preference.
- If you notice yourself turning to the side during the tuck, it might be a sign of needing more conditioning exercises like jumps and stretches.
Tip: Tucking your knees plays a vital role in the backflip because it provides the momentum needed to complete the flip. Without the tuck, your legs may slow you down during the rotation.
Step 3: Keep your eyes open during your flip so you can see to stick your landing.
- While flipping, keep your eyes open to maintain awareness of your surroundings.
- Try to spot the object in the distance that you were gazing at before initiating your jump.
- This visual reference helps in timing your landing. Once you see the object back in view, it signals the completion of your rotation.
Even if you don’t spot the initial object, don’t worry! You can still stick your landing as you successfully complete your backflip. Keeping your eyes open throughout the flip enhances your control and confidence, ensuring a more graceful and secure landing.
Sticking the Landing to finish a backflip
Step 1: Stretch out your legs about 3/4 of the way through your rotation
- As you gracefully navigate through your rotation, about 3/4 of the way through, it’s time to extend those legs.
- Release your tuck and gently let your legs stretch outward.
Picture this: they become your guiding companions, carrying you down gracefully as you make your descent back to the floor.
Step 2: Keep your knees bent as you come in for your landing
A slight bend is all you need to stick the landing just right.
- This technique helps absorb some of the impact, acting as a cushion and protecting your body.
- Be cautious not to bend too far down, as it may throw off your balance.
Tip: Avoid locking your knees upon landing, as it could lead to discomfort or injury. Keeping them slightly bent ensures a safer and more comfortable landing experience.
Step 3: Land with your hips under your chest and your knees aligned with your ankles.
- Your body should almost form a straight line, except for the slight bend in your knees.
- This alignment is crucial for proper form, reducing the risk of injury to your joints, such as ankles or hips.
If your body is not in proper alignment, it could place excessive strain on your joints, potentially leading to discomfort or injury.
Step 4: Bring your chest up as you land to help you stay balanced after a backflip.
Although your landing position will resemble a near-standing posture, your chest might tilt forward.
- To complete the flip gracefully, pull your back up straight as you firmly plant your landing.
- If you find yourself leaning forward upon landing, it’s okay to reach forward with your hands to steady yourself.
- However, exercise caution to avoid falling onto your hands or arms, which could result in injury.
Your ultimate goal is to land in the same spot where you started. Landing within 1 to 2 feet (0.30 to 0.61 m) of your starting point is considered good, showcasing your mastery of the backflip technique.
And after mastering this basic pattern of backflip, you should learn more cool flips through this YOUTUBE video below!
Leave a reply