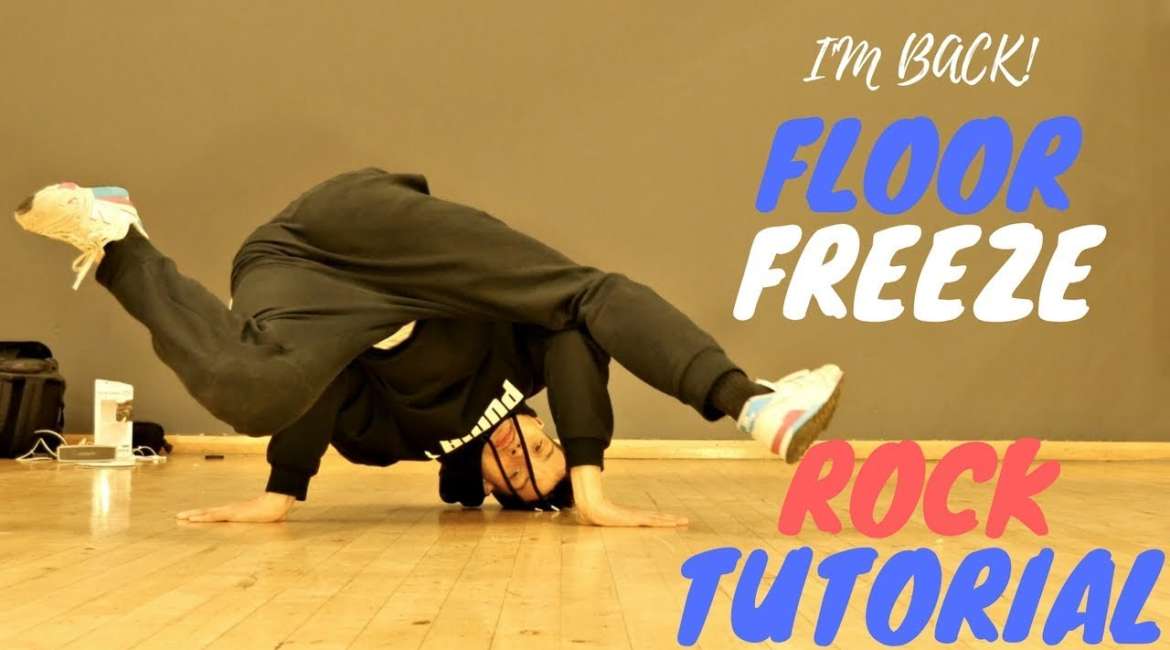
Welcome to another exciting breaking tutorial! Today, we’re diving into a dynamic footwork and freeze combination that will elevate your breaking game to new heights. This Floor Freeze Rock combo is not only visually impressive but also a great way to improve your level changes, style, and efficiency in your breaking routines.
Introduction to the Floor Freeze Rock
The Floor Freeze Rock is an advanced combination that seamlessly blends footwork with freezes, creating a smooth and powerful transition between different levels of movement. This combo is inspired by Bboy Storm’s “Hook & Sling” but with a unique twist. It’s an excellent drill for both beginners looking to expand their vocabulary and experienced breakers aiming to refine their transitions.
Before we begin, it’s important to note that you should have a solid foundation in the basic Pilot Freeze on both sides to get the most out of this tutorial. If you’re new to breaking, take your time to master each component before putting them together. Remember, form is everything – speed will come naturally with consistent practice and good technique.
Prerequisites
Before attempting the Floor Freeze Rock, make sure you’re comfortable with:
- Basic footwork patterns
- Hook variations (check out the “Hook Variations” tutorial if needed)
- Pilot Freeze on both sides
- Basic conditioning exercises for upper body strength
Breaking Down the Floor Freeze Rock
Let’s break down this combo into its core components:
1. Starting Position
- Begin in the neutral “Position 0” stance
- This is your foundation for initiating the move
2. The Hook
- From Position 0, swing your leg out and around
- This creates momentum for the transition into the freeze
3. The Transition
- As you complete the hook, place your hand flat on the ground
- Your hand should be positioned above your shoulder
- This hand placement is crucial for supporting your weight in the freeze position
4. The Swing and Push
- Swing your leg up while simultaneously pushing with the other leg
- This combined action will elevate your hips
5. The Pivot
- As your body lifts, pivot on the hand that’s on the ground
- This rotation sets you up for the freeze
6. The Freeze
- Land in a Pilot Freeze position
- Ensure your weight is properly distributed for stability
7. The Return
- Push up from the freeze position
- Swing your legs back to return to the hook position
8. Repeat on the Other Side
- Transition back to Position 0
- Transfer your weight to the opposite side
- Repeat the entire sequence, mirroring the movements
Step-by-Step Breakdown
Now, let’s go through the Floor Freeze Rock step by step:
- Hook Initiation: • Start in Position 0 • Execute a quick hook by swinging your leg out and around
- Hand Placement: • As you complete the hook, place your hand flat on the ground • Position your hand above your shoulder to support your weight
- Leg Swing and Hip Lift: • Swing one leg up • Simultaneously push with the other leg to elevate your hips
- Pivot and Freeze: • Use the momentum to pivot on your supporting hand • Rotate your body into the Pilot Freeze position
- Stabilize: • Lower your body into a stable Pilot Freeze • Ensure your weight is evenly distributed
- Return Swing: • Push up from the freeze position • Swing your legs back to return to the hook position
- Transition to Other Side: • Return to Position 0 • Transfer your weight to the opposite side • Repeat the sequence on the other side
Common Challenges and Tips
As you practice the Floor Freeze Rock, you may encounter some challenges. Here are some tips to help you overcome them:
- Balance Issues: Focus on core strength exercises to improve your stability in the freeze positions.
- Lack of Power: Work on explosive movements in your legs to generate more force during the swing and push phases.
- Weak Upper Body: Incorporate push-ups and handstand holds into your training routine to build the necessary strength.
- Timing Problems: Practice each component slowly before increasing speed. Use music to help you find the rhythm.
- Inconsistent Performance: Pay attention to your form on both sides. Many breakers have a dominant side, so extra practice on your weaker side may be necessary.
Variations and Combinations
Once you’ve mastered the basic Floor Freeze Rock, you can start experimenting with variations:
- Speed Variations: Try performing the combo at different tempos to match various music styles.
- Freeze Variations: Instead of always landing in a Pilot Freeze, experiment with other freeze positions like the Baby Freeze or Elbow Freeze.
- Direction Changes: Practice transitioning from the freeze directly into other power moves or footwork patterns.
- Musical Accents: Use the Floor Freeze Rock to hit specific beats in the music, showcasing your musicality.
Incorporating the Floor Freeze Rock into Your Sets
The Floor Freeze Rock is a versatile combo that can be used in various contexts:
- Battles: Use it as a surprise element to catch your opponent off guard.
- Showcases: Incorporate it into choreographed routines for a dynamic level change.
- Cyphers: Use it to transition between different elements of your freestyle.
- Training: Practice it regularly to improve your overall body control and transition skills.
The Importance of Proper Form and Safety
As with any breaking move, proper form is crucial not only for the aesthetics of the move but also for your safety. Here are some key points to remember:
- Warm-Up: Always warm up thoroughly before attempting the Floor Freeze Rock, focusing on your wrists, shoulders, and core.
- Progression: Don’t rush into the full combo. Master each component separately before putting them together.
- Surface: Practice on appropriate surfaces to prevent slipping and reduce impact on your joints.
- Knee Pads: Consider using knee pads, especially when learning, to protect your knees during the floor work.
- Listen to Your Body: If something doesn’t feel right, stop and reassess your technique. It’s better to take it slow than to risk injury.
Training Regimen for Mastering the Floor Freeze Rock
To truly master the Floor Freeze Rock, incorporate these elements into your training routine:
- Strength Training: Focus on exercises that build upper body and core strength.
- Flexibility Work: Improve your overall flexibility, especially in your hips and shoulders.
- Isolation Drills: Practice each component of the move separately to refine your technique.
- Flow Practice: Work on smoothly transitioning in and out of the Floor Freeze Rock.
- Endurance Training: Build up your stamina to perform multiple repetitions with consistency.
- Visualization: Mentally rehearse the move to improve your muscle memory and confidence.
Conclusion: Elevate Your Breaking with the Floor Freeze Rock
The Floor Freeze Rock is more than just a flashy combo – it’s a testament to the creativity and evolution of breaking as an art form. By incorporating this move into your repertoire, you’re not only expanding your technical skills but also developing a deeper understanding of flow, transitions, and level changes in breaking.
Remember, mastering the Floor Freeze Rock takes time and patience. Don’t get discouraged if you don’t nail it right away. Breaking is a journey of continuous learning and self-expression. Embrace the challenge, enjoy the process, and let your creativity shine through as you make this move your own.
As you continue to practice and refine your Floor Freeze Rock, don’t forget to explore other aspects of breaking. This combo is just one piece of the vast puzzle that makes up the art of breaking. Keep pushing your boundaries, stay inspired by other breakers, and never stop learning.
Lastly, we’d love to hear from you! Leave a comment about what you’d like to learn next. Your feedback helps us create content that truly serves the breaking community.
Now, it’s time to hit the floor and start working on your Floor Freeze Rock. Remember to practice safely, stay consistent, and most importantly, have fun! Keep breaking, and we’ll catch you in the next tutorial. Peace out!
Author Profile
Latest entries
 Break DanceAugust 26, 2024ULTIMATE AIRFLARE TUTORIAL (2024) – COACH SAMBO
 Break DanceAugust 26, 2024BEST WINDMILL TUTORIAL – COACH SAMBO – HOW TO BREAKDANCE
 Break DanceAugust 26, 2024BEST AIRFLARE TUTORIAL – BY SAMBO – HOW TO BREAKDANCE (#6)
 Break DanceAugust 26, 20245 BEGINNER FREEZES – HOW TO BREAKDANCE – BY COACH SAMBO


Leave a reply